Introduction: Importance of a Proper Oven Door Seal for Energy Efficiency and Safety
In the bustling city of Las Vegas, where the desert climate often highlights the need for efficient home appliances, maintaining a well-functioning oven is crucial. A properly sealed oven door plays a significant role in ensuring both energy efficiency and household safety. An intact oven door seal is eccentrically for heat retention. This not only conserves energy (by preventing the oven from cycling on too frequently) but also ensures that your food cooks evenly and accurately. Furthermore, a good seal minimizes the risk of burns or accidental fires by keeping the heat contained within the oven cavity.
Identifying Signs of a Damaged or Worn Oven Door Seal
Recognizing when your oven door seal needs attention is the first step towards effective maintenance. Common signs include:
- Visible Cracks or Fraying: Inspect the seal for any obvious damage, such as visible cracks or frayed edges.
- Noticeable Heat Loss: If you notice that your kitchen gets unusually warm when using the oven or food is taking longer than usual to cook, it may indicate heat escaping due to a faulty seal.
- Excessive Dirt or Grease Buildup: A significant buildup of dirt or grease on the seal can cause the material to deteriorate and become faster.
- Increased Energy Bills: A sudden spike in your energy costs without an apparent change in usage might be due to inefficient appliances, including an oven that is constantly losing heat.
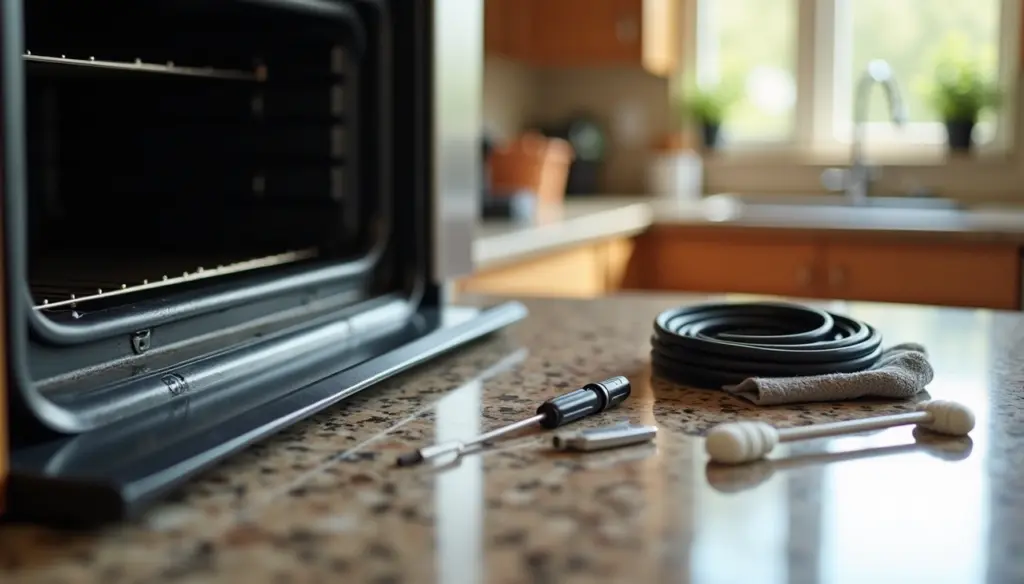
Gathering Necessary Tools and Replacement Parts for the Repair
Before beginning the repair, gather all necessary tools and parts:
- Replacement Oven Door Seal: Ensure the new seal is an exact match for your specific oven model.
- Screwdriver Set: Essential for loosening and removing any screws around the door frame or panel.
- Pliers: Useful for carefully removing any clips holding the old seal in place.
- Cloth and Mild Detergent: Needed for thoroughly cleaning the area around the door frame before fitting the new seal.
Step-by-Step Process to Remove the Old Seal and Install the New One
- Safety First: Unplug your oven or turn off its power supply at the breaker box to avoid any electrical hazards before you begin.
- Remove Old Seal:
- Open the oven door fully.
- Locate the old seal’s attachment points—it’s usually fixed with clips or screws around the frame.
- Carefully remove the clips using pliers. If screws are present, use a screwdriver to remove them.
- Clean the Surface:
- After removing the old seal, thoroughly clean the area where it was attached. This step is crucial, as grease buildup can prevent proper adhesion and seating of the new seal.
- Install the New Seal:
- Align the new gasket with attachment points on your oven door frame.
- Secure it by reattaching the existing clips or screws. If the seal uses hooks, gently push the hooks into the designated holes.
- Test Your Work:
- Close and open your oven door several times.
- Check that the door closes securely and that the seal compresses evenly all the way around, with no visible gaps.
Tips for Maintaining Your Oven Door Seal and When to Call a Professional
Maintaining your oven door seal:
- Regular Inspection: Inspect the seal for wear every few months during your routine oven cleaning sessions.
- Gently Cleaning: Avoid harsh chemicals cleaners around the seal; mild dish detergents work best.
- Prevent Door Damage: Do not slam your oven door. Sudden, repeated shocks can prematurely dislodge the seal over time.
When to Call a Professional
While DIY seal replacement is effective, certain situations require expert intervention:
- If uneven cooking or excessive heat loss persists after replacement, consult a professional technician. This indicates that the problem may stem from faulty internal components, not just the seal.
By following these guidelines—tailored specifically for Las Vegas homeowners focused on home appliance efficiency—you ensure not only better cooking outcomes but also aligned energy consumption with the demands of an urban lifestyle!